How To Connect Epson Printer To Wifi
Connect Epson Printer To Wifi
Follow this steps to enable Epson Connect for your Epson printer on the Windows operating system:Note: Make sure your product is connected to Wifi Adapter or Ethernet network
- Download and install Epson Connect Printer Setup Utility.
- Accept the End User License Agreement, then click Next.
3. Click Install, Follow the instructions that appear on the installation form until you see the Finish button, then click Finish.
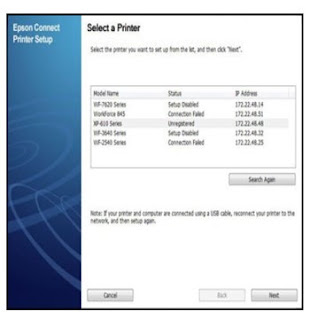
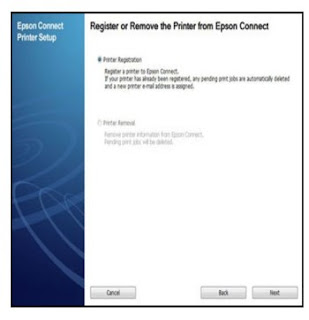
4. Select your product Epson, then click Next.5. Select Printer Registration then clicks Next.
6. Select Agree, then click Next.
7. When you see the list of printers in Epson Connect messages, click OK.
8. Do one of the following ways:
- If you created a new account, fill out the Create an Epson Connect Account form, then click Finish.
- If you registered your new Epson printer product with an existing account, select I already have an account, fill in the Add a new printer form, then click Add.
9. Then Click Close.
10. See instructions Enable Scan to Cloud and Remote Print to allow the Scan to Cloud and Remote Print service.


